Hey guys! Welcome back. ♡
This post is going to be a review about about the second product from my mini haul! You can check the photo of the haul a few posts back if you'd like. For now, let's get started on the review!
This post is going to be a review about about the second product from my mini haul! You can check the photo of the haul a few posts back if you'd like. For now, let's get started on the review!
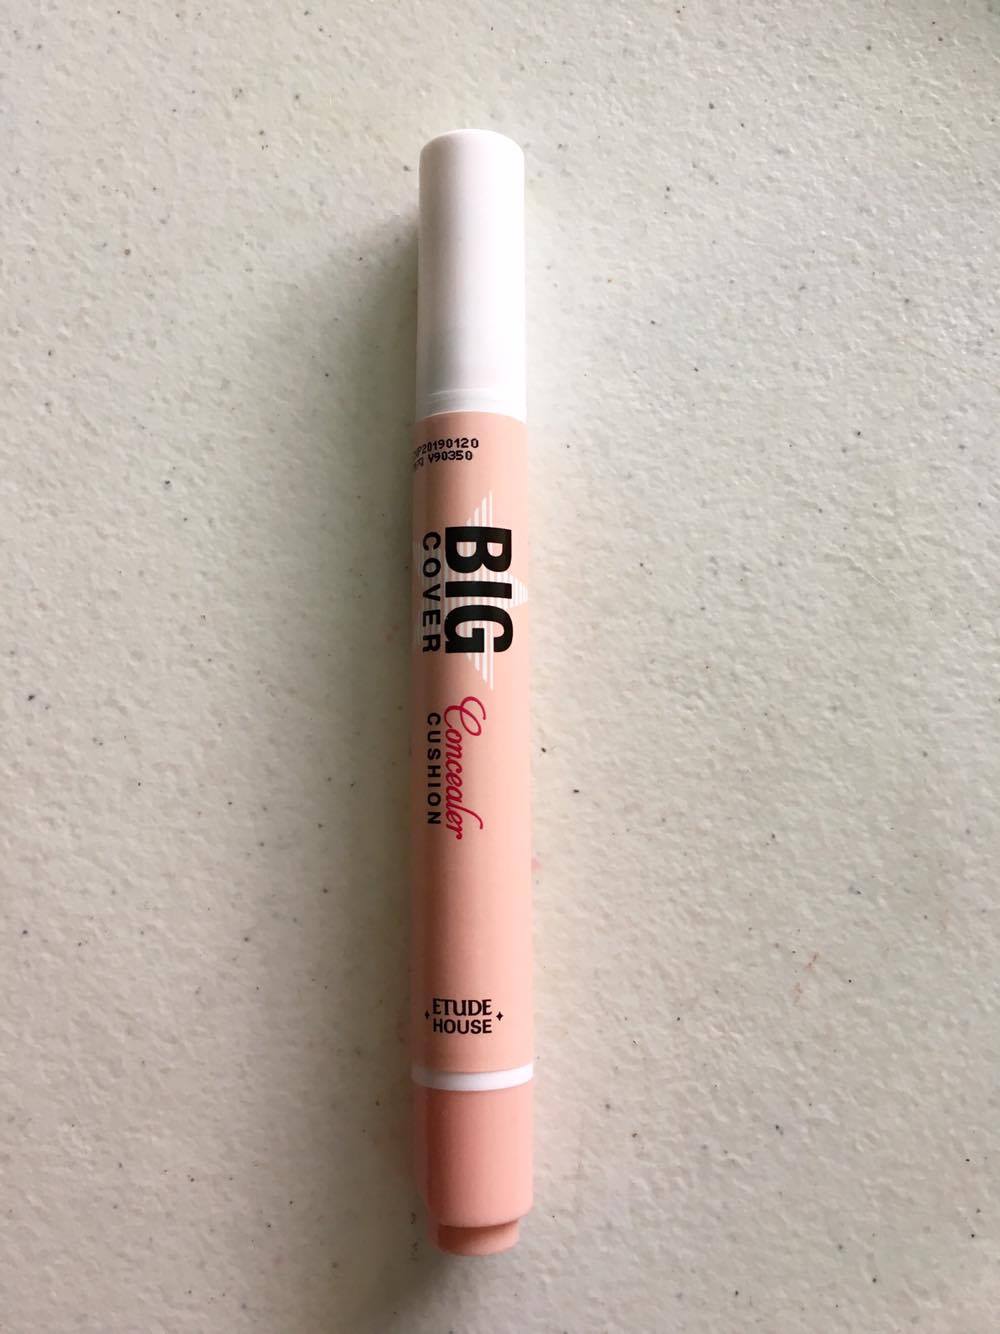
Etude House Play 101 Stick Contour Duo

ABOUT THE PRODUCT
The product is a creamy contour duo that's used in shading and highlighting the face to give it a more dimensional look. It's one of the sticks in the Play 101 line that came out not too long ago.


PACKAGING

It comes in a simple duo stick form with the name of the product in the center.
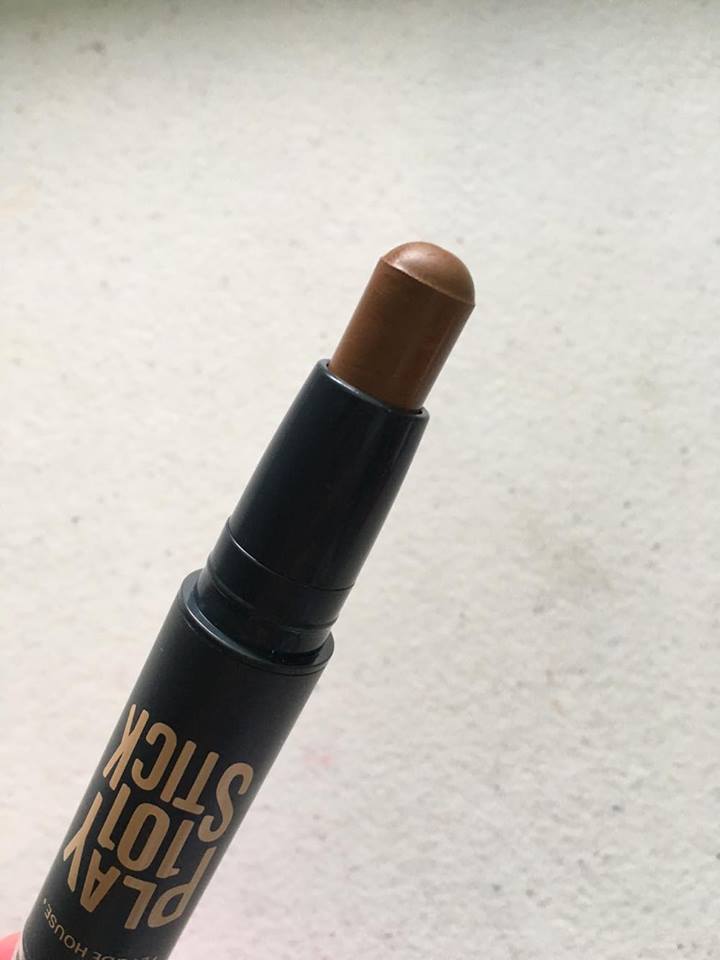
This is the shading or contouring end...

...and this is the highlighting end.
SWATCH

As you can see, the highlighting shade is white with only a hint of shimmer. The shading/contouring shade is a brown color with the slightest orange tone. It didn't really look as warm-toned as I thought it would be once it was all blended out.
APPLICATION
Directions: Apply the highlighting color on T-zone, cheekbones and the shade color on sides of nose and below the jaw line.
Personally, I'm not much of a fan of the western way of highlighting/contouring since I'm not sure if it looks good on me. I try not to contour too heavily either since a natural look is what I usually go for.
I focused on shading my jaw down before placing the contour shade at the sides of my nose. I also placed the contour on my hairline to see how it'll work. With the highlighting shade, I placed it on some of the high parts of my face.

I look crazy but that's okay.

The profile view.
You can tell which features the Korean style of contouring wants to emphasize. It's minimal and strives to be very natural looking.
The one thing you should note about this product is that it's so creamy. You'll notice that it slides onto your skin like butter. With it being that creamy, one can easily use the product up quickly since it seems to melt away onto your face.


I used my brush from The Saem to blend it all out.
Actually, I had to go back in with another layer of contour for my jaw and the lower part of my nose because it was such a humid day so the product slipped around a lot. With this, I realized that the contour stick might perform better in colder weathers. If you're living in humid areas such as myself, it would be best to place a light layer of powder-type bronzer on top of this product.

I believe that the contour stick helped in giving an illusion of a slightly slimmer face and a smaller nose. Since it's really easy to blend out and buff into the skin, the outcome is very natural looking. It's as if you're not actually wearing any contour or highlight.
MY THOUGHTS
This product would be great for those who are just starting out in contouring and highlighting. There's very little room for mistakes or harsh looking lines because of the fact that it's so easy to blend. It's sad though that there isn't much product. It's so creamy that it's quickly used up. Where I live, they sell this for a bit more than they do in Korea so that's kind of a bummer.
PROS
– easy to use
– easy to blend
- great for shading and highlighting beginners
- great for shading and highlighting beginners
– build-able shading and highlighting
-
-
CONS
– not a lot of product
– product slips around when humid
RATING (4/5 STARS) ★★★★☆
RECOMMENDATION
To contouring beginners, this is probably one of the safest cream contouring and highlighting products you'll use! Of course, experts can also opt for this product to achieve a very natural contoured look.
PS. I wish this would come with more product. There isn't that much left after I used it, ㅠㅠ
PS. I wish this would come with more product. There isn't that much left after I used it, ㅠㅠ
♥
Tasha